How To Frame a Cross Stitch
More than twenty years ago, my Mom and I visited a cross stitch shop in WInchester, Virginia just to "look." It was also a framing shop and the older man who did the framing took the time to show us how to lace our work. We both started framing our own pieces after that. While it does take time and patience, anyone can do it. I custom order my frames online because I like an even amount around all sides of my stitched piece and frames I find elsewhere do not often fit. I also like at least a half inch rabbet which many frames do not have.
This is the process I follow for framing each piece.
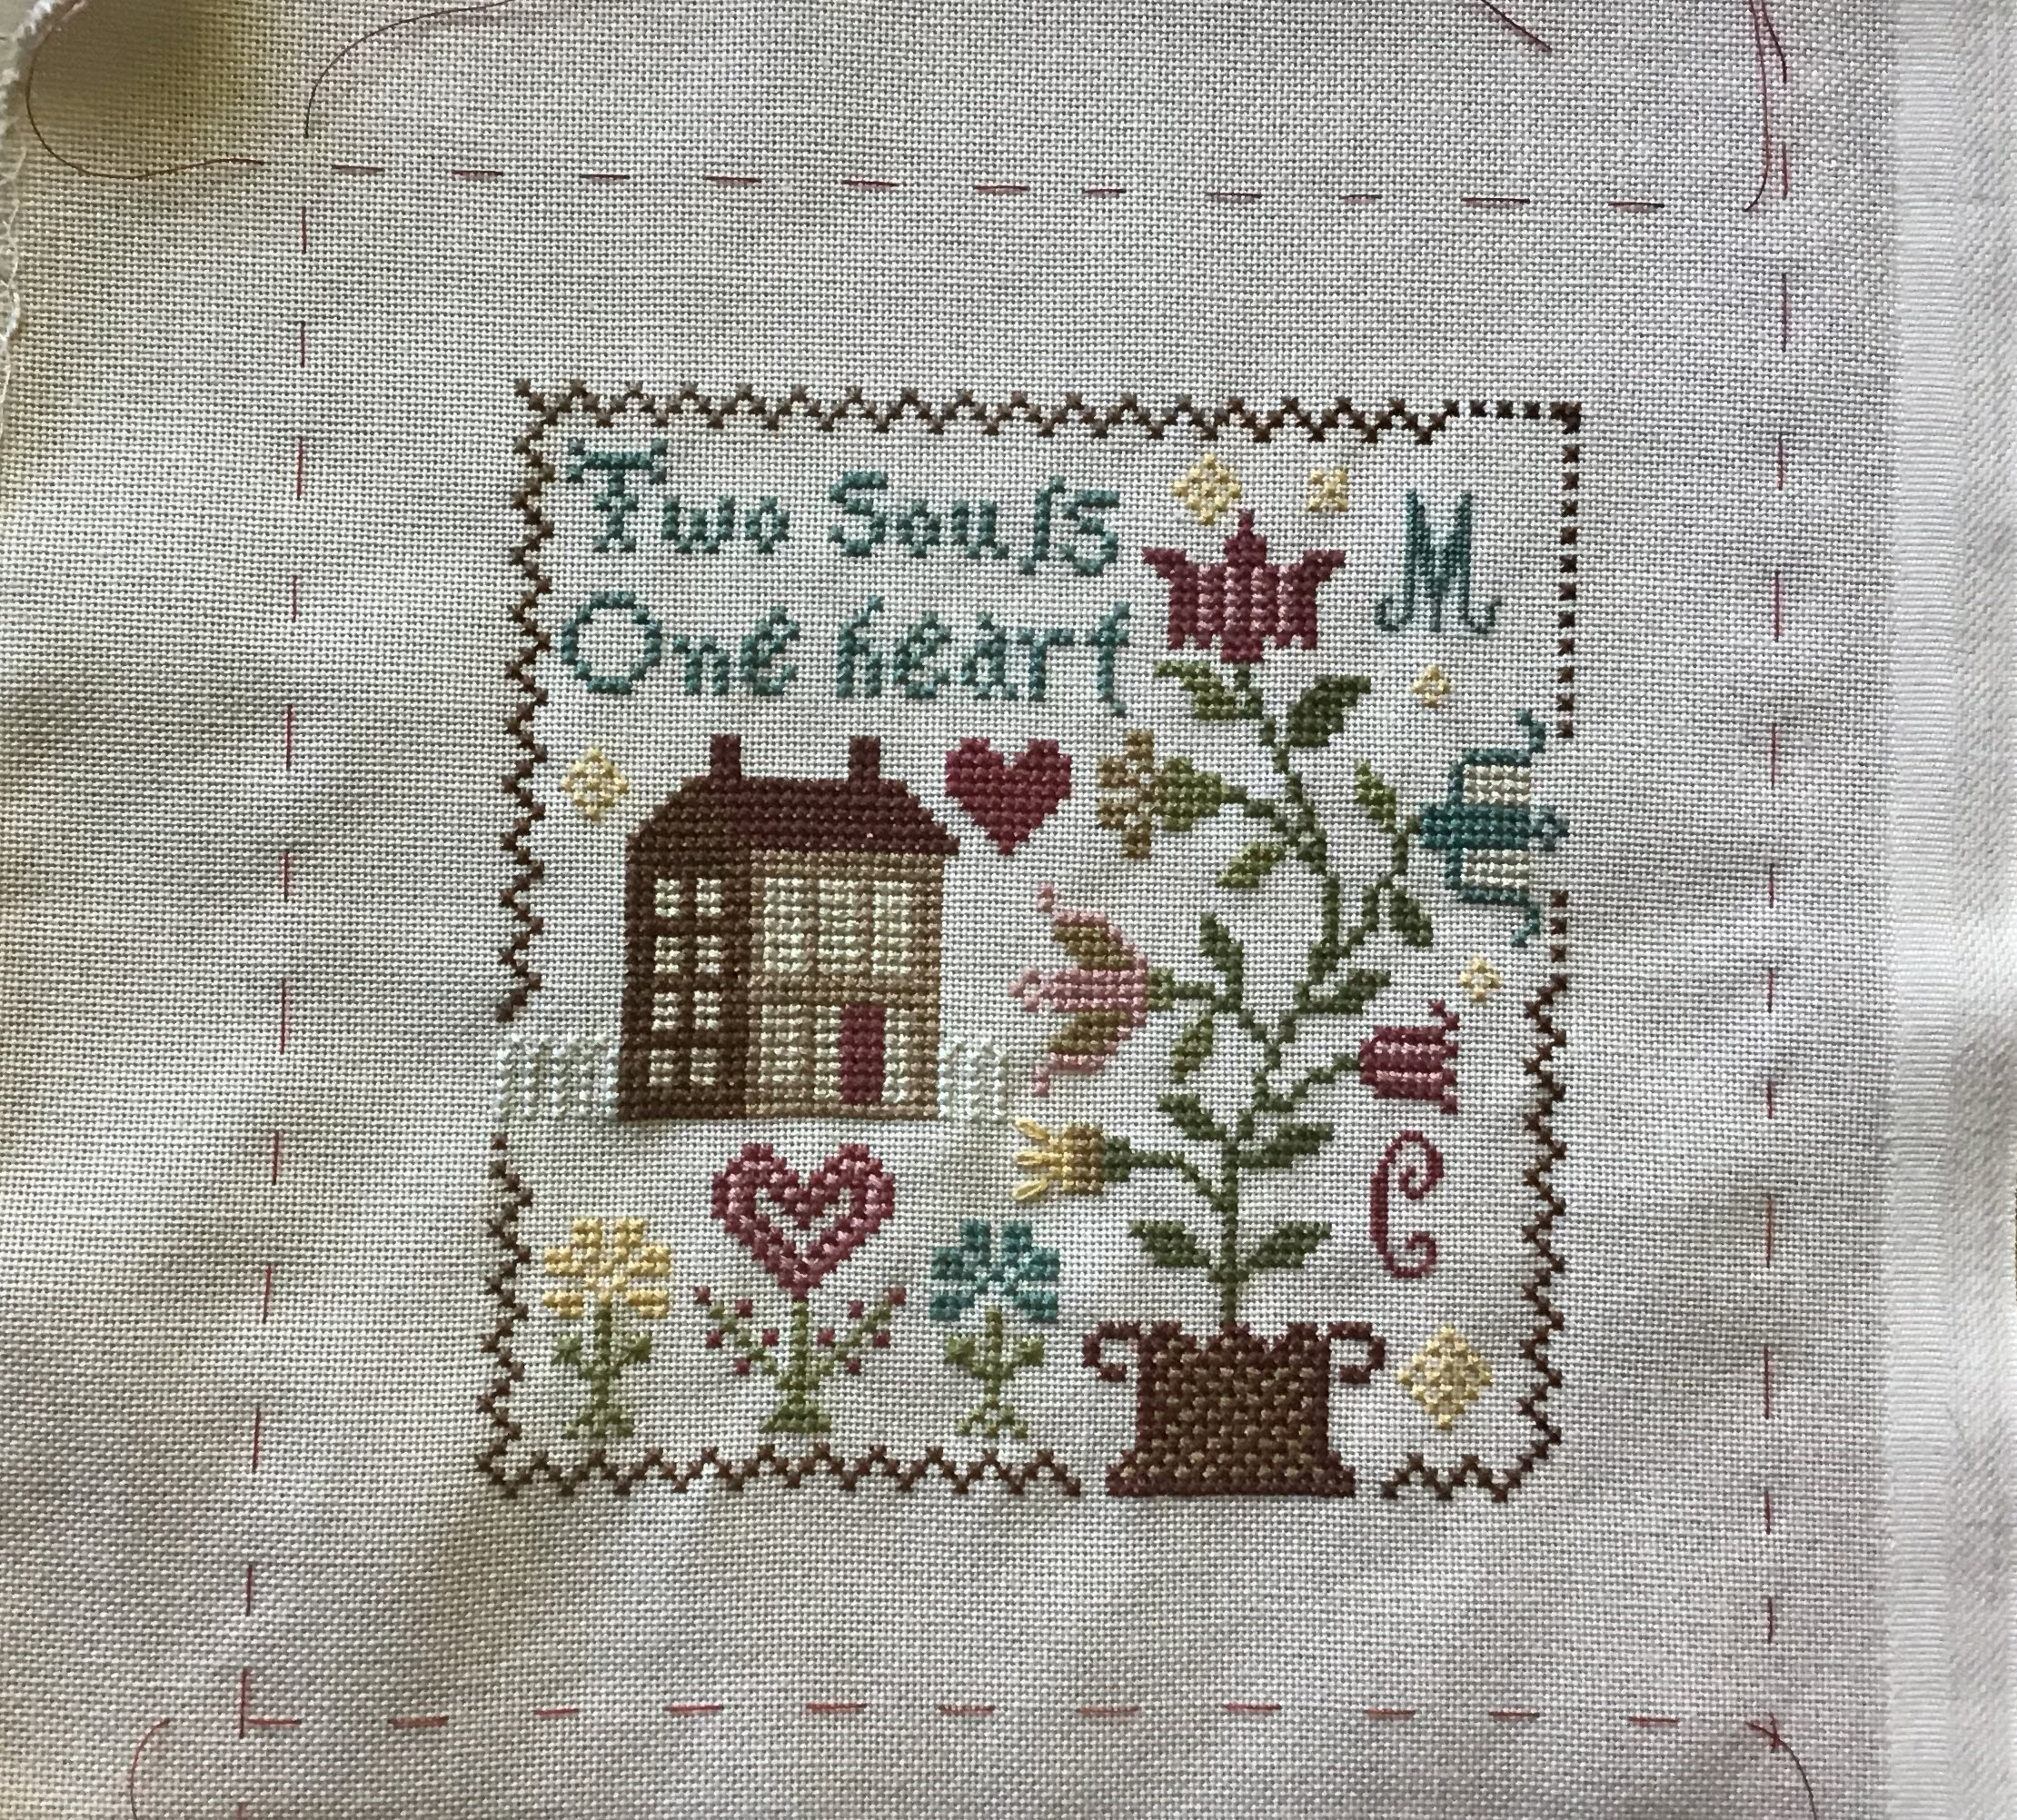
Preparing the needlework for framing
Make sure you have enough extra fabric around the design so it can be pinned/laced over a foam-core board before framing. If there is not enough fabric to provide adequate tension, you may be able to carefully machine or hand sew extra fabric around the edges. I normally leave 3 or 4 inches around all sides of a piece I am going to frame. I would rather cut off the extra fabric than not have enough to do the job properly. Make sure you iron your piece beforehand. NOTE: Because of my poor eyesight, I use a running stitch around the entire edge of my stitched project to help in lining it up on the foam core.
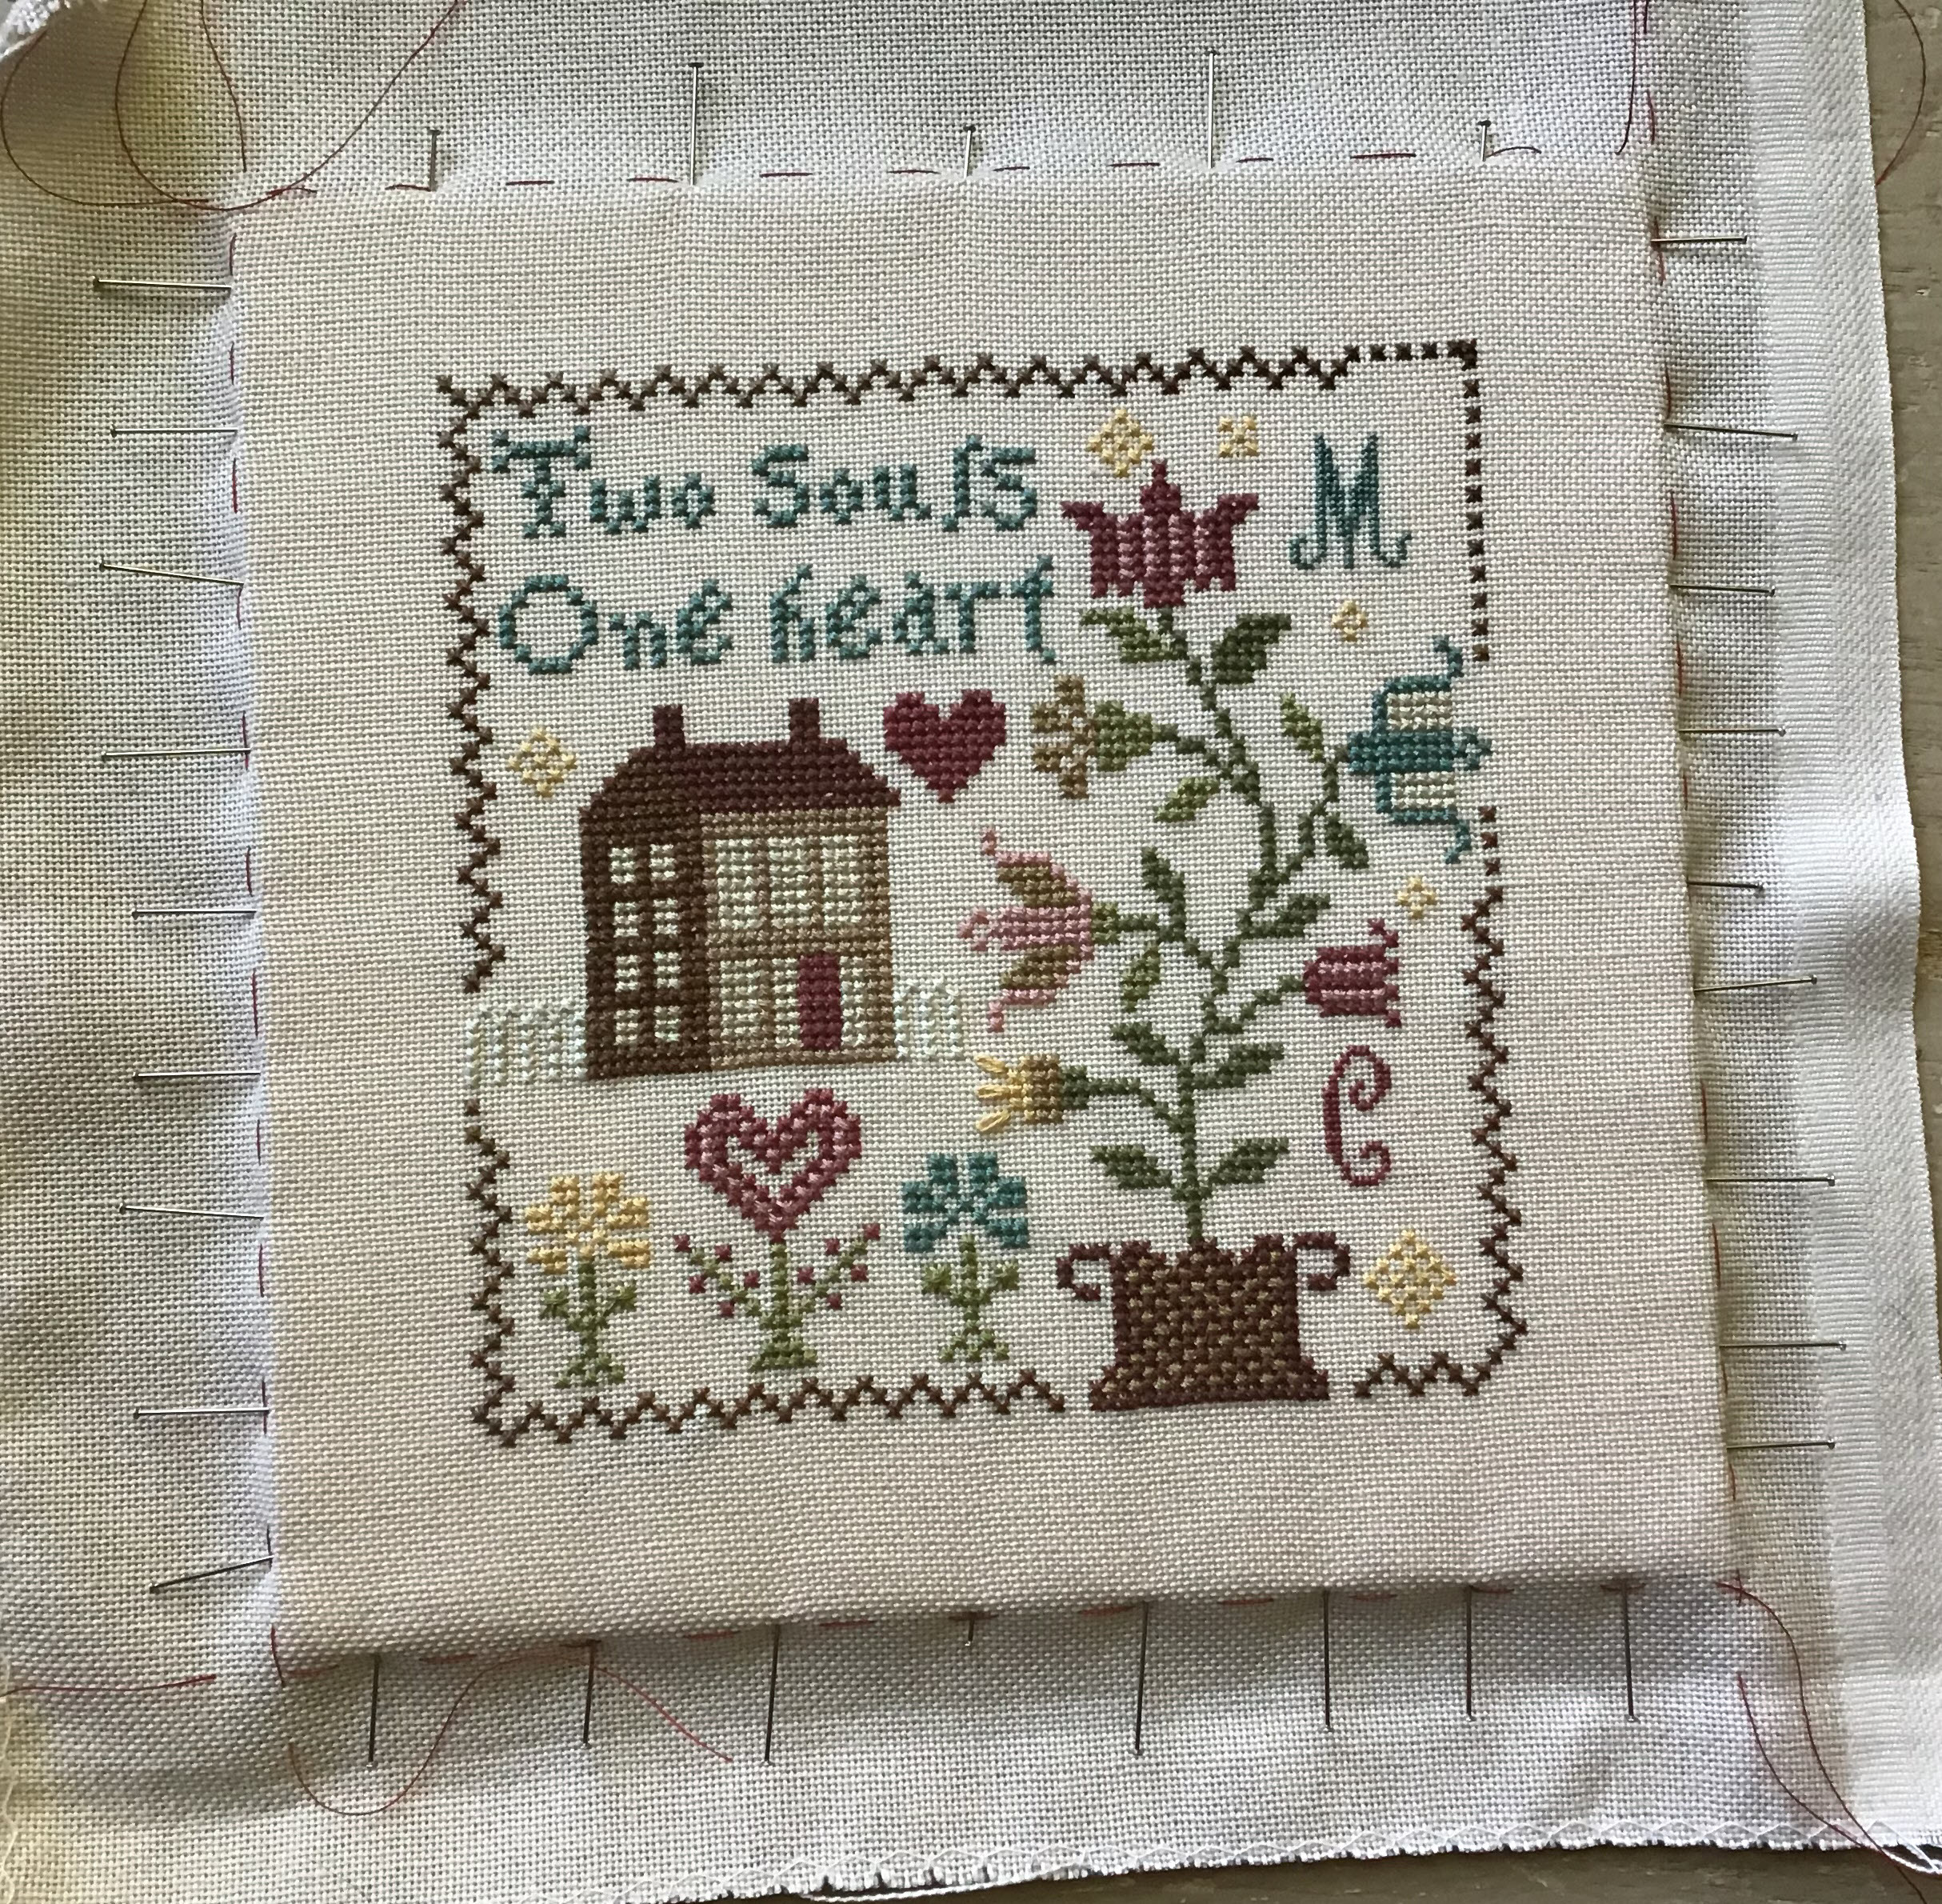
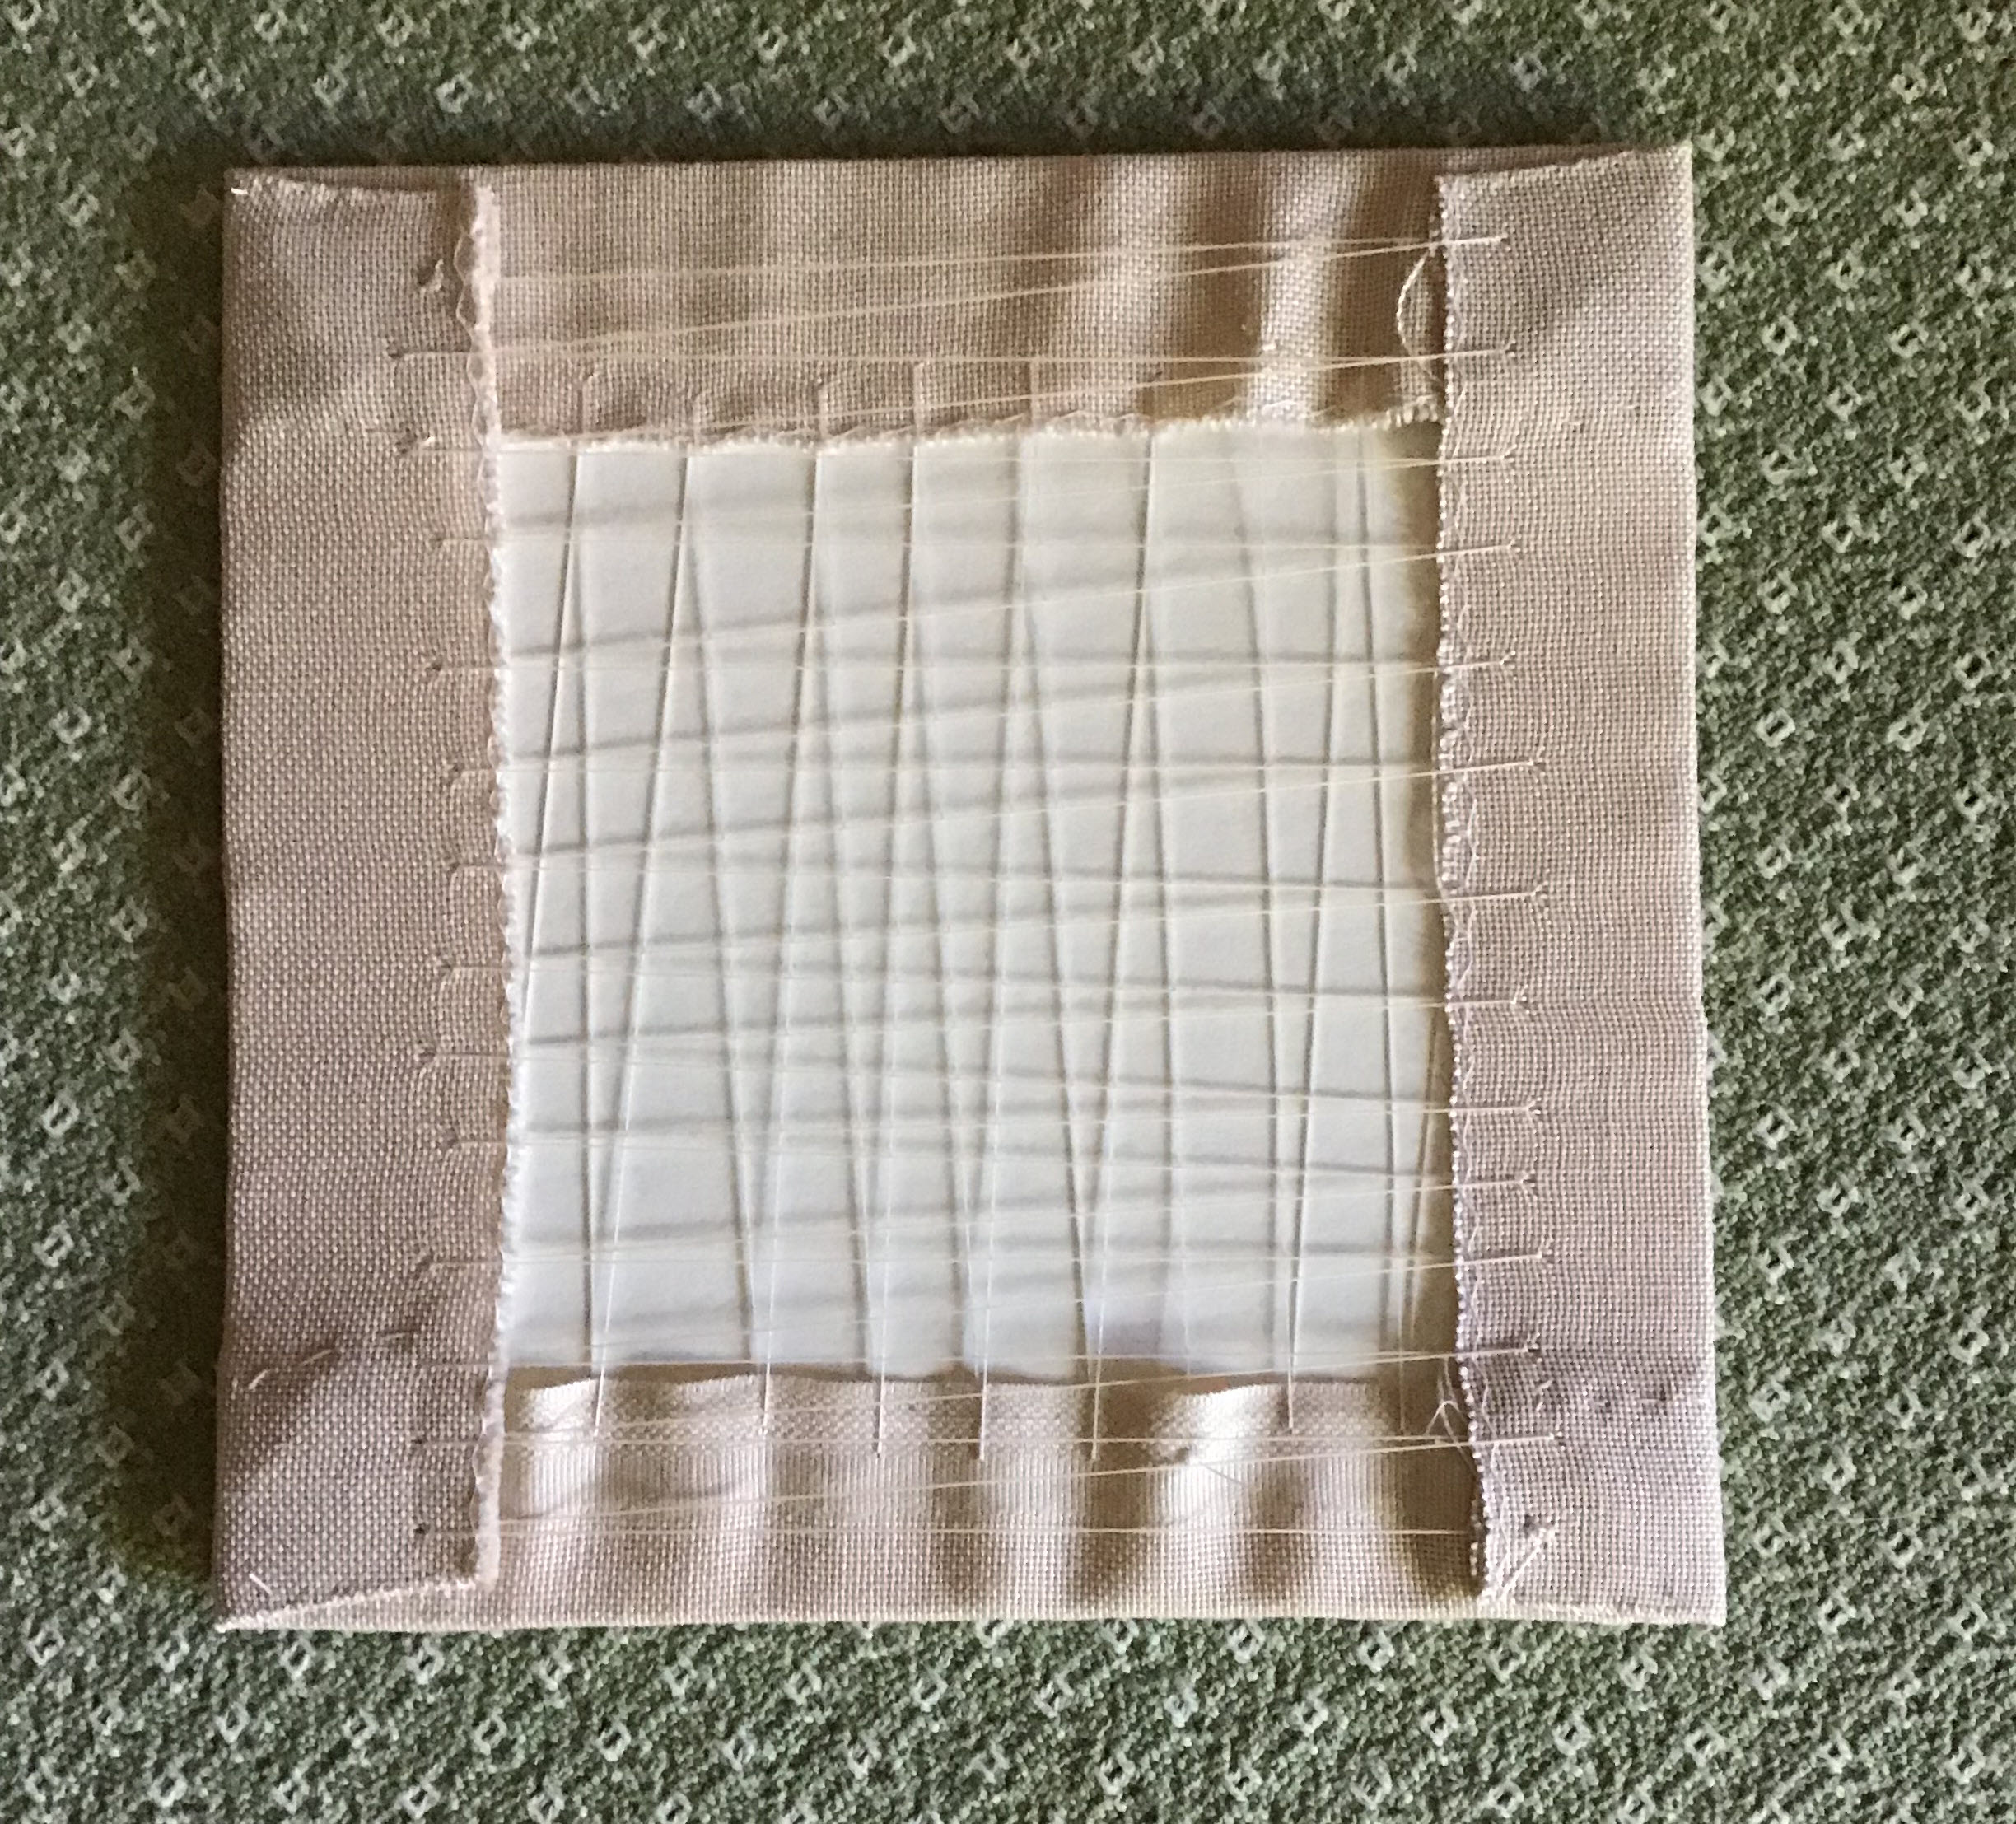
Next I place my stitched piece on the foam core (I use the stitched line to make sure it is even) then pin around all four sides making sure it remains even and not pulled too tight. Once I am satisfied with how it looks, I push the pins all the way in to the foam core.
Next flip the piece over and lace it. I use craft/button thread but just ordered some upholstery thread to see if it is any different. Make sure and anchor your thread at both ends and don't pull it to tight. UPDATE: Rather than lace the back of the piece, I now use double-sided acid free tape to hold down the back loose edges of the fabric.
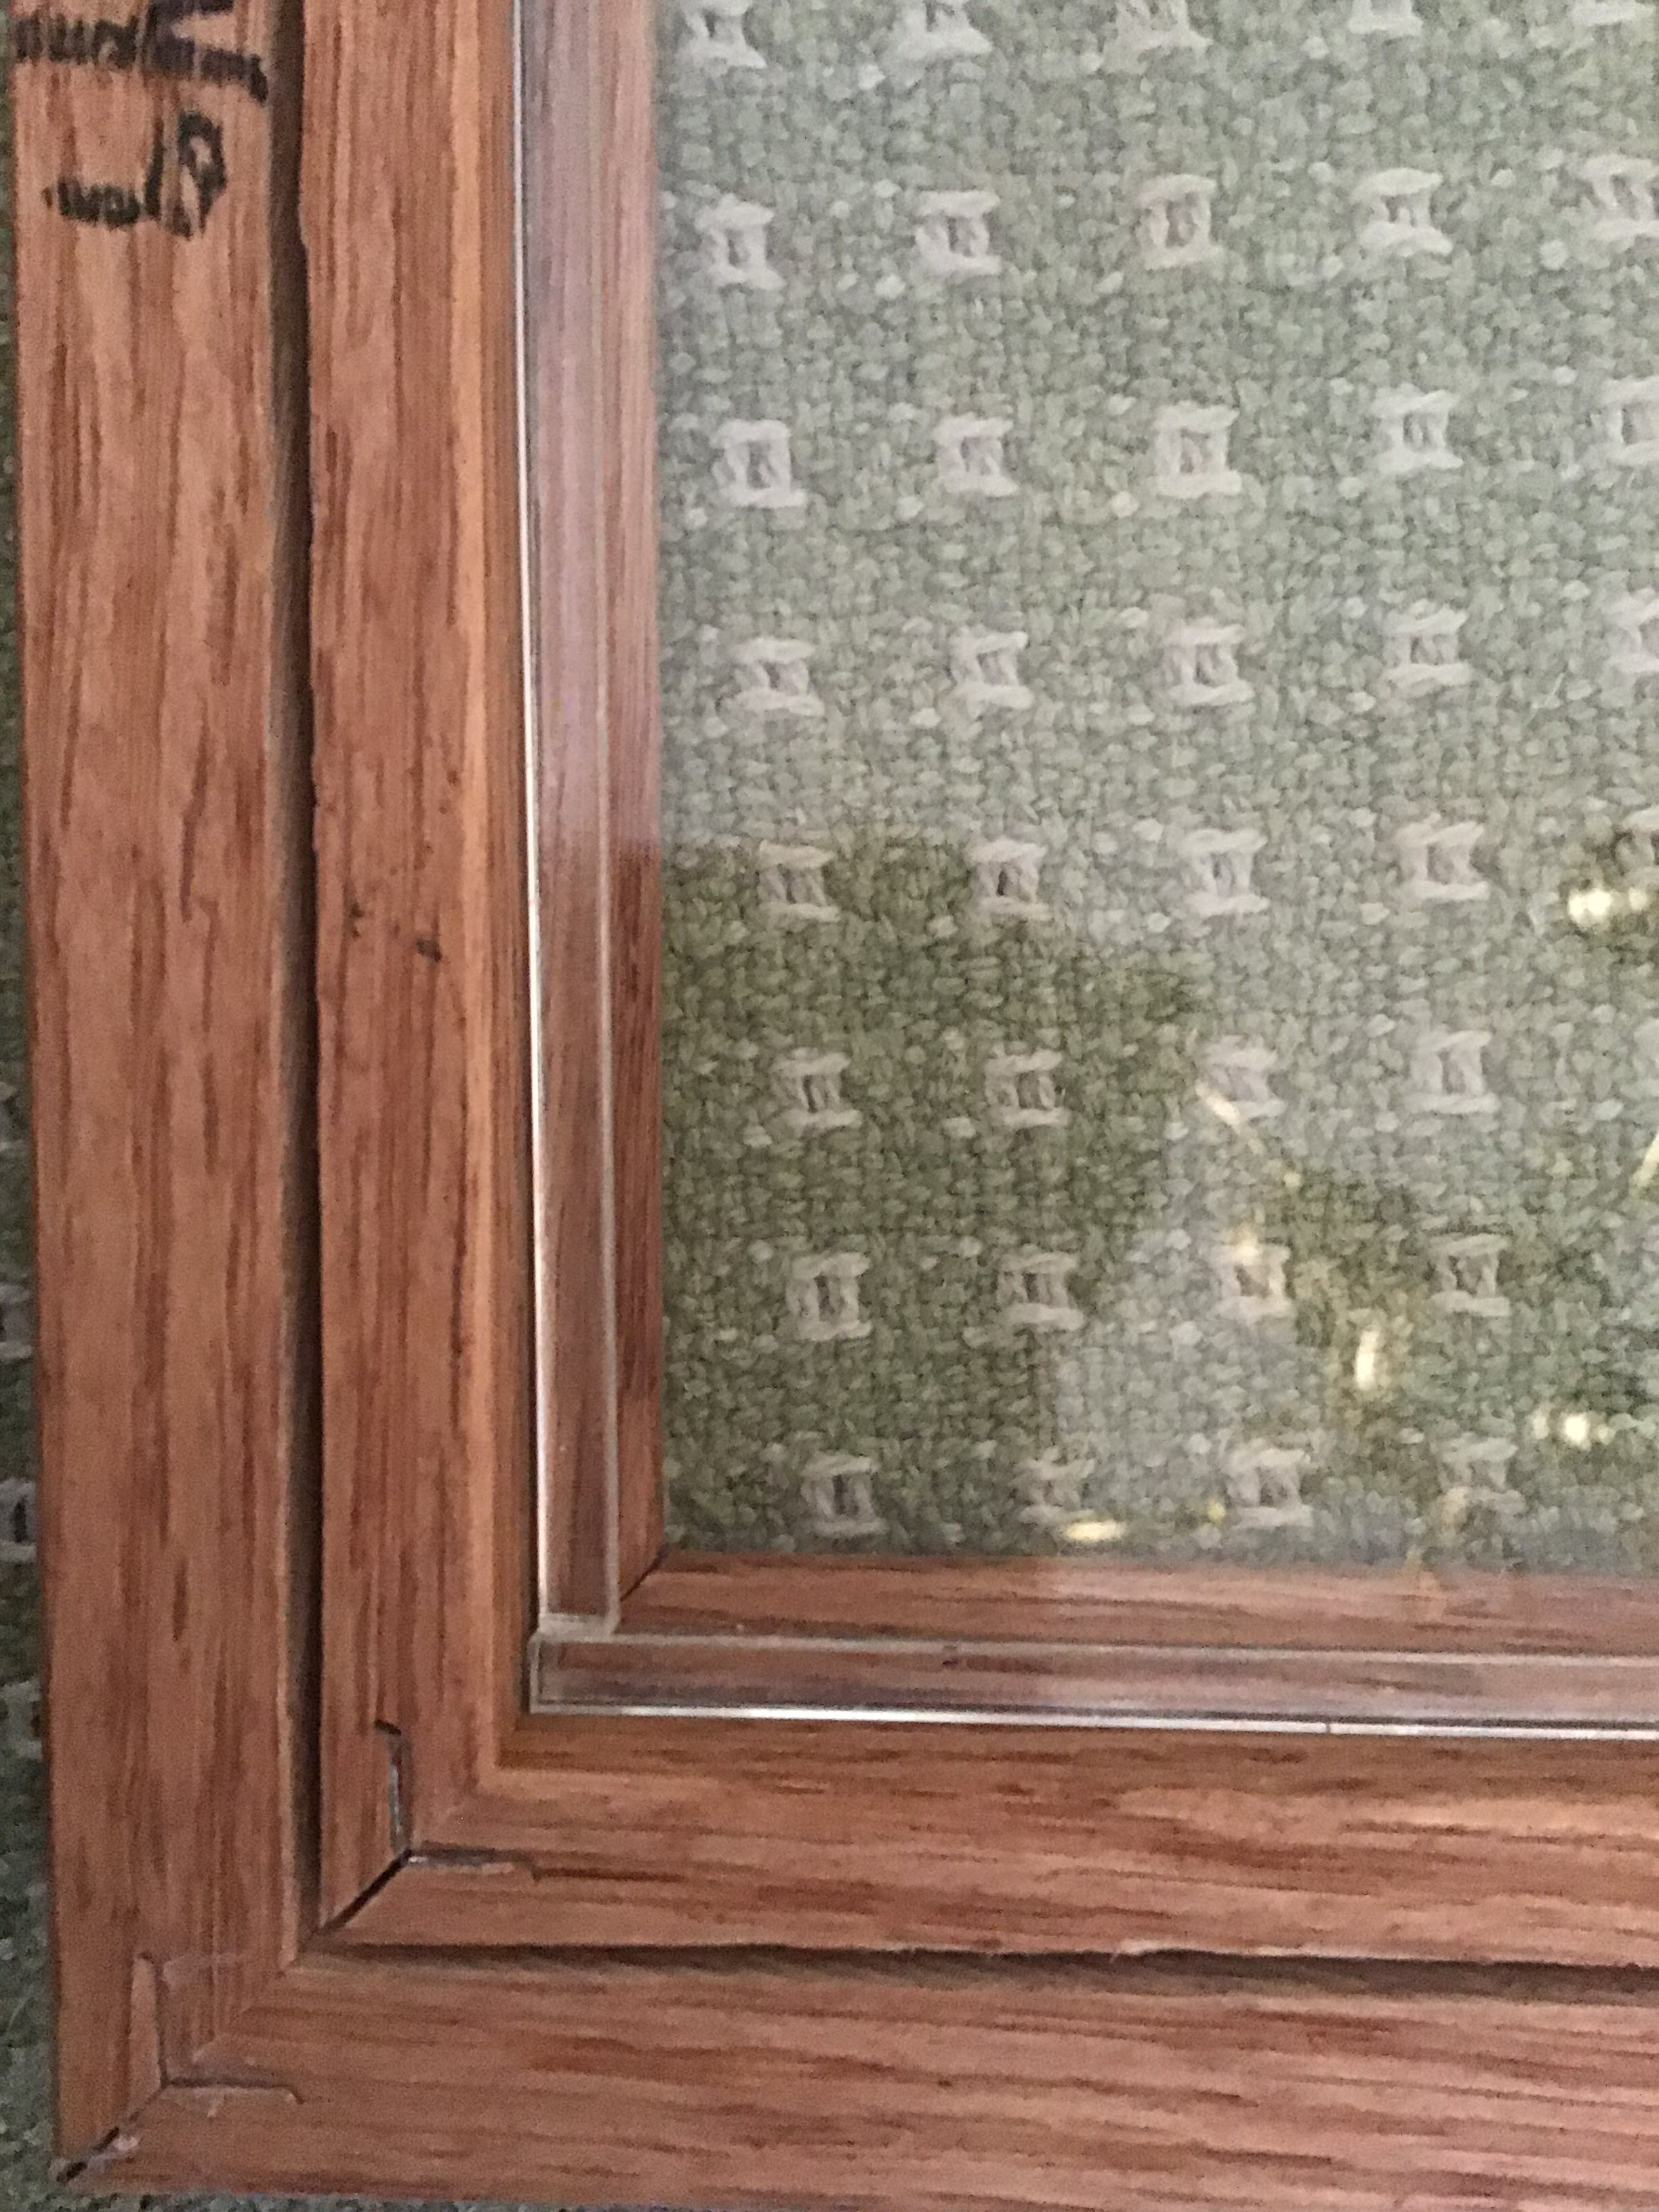
Since I am not using a mat on this one, I add clear spacers which I purchase at my local Michaels.
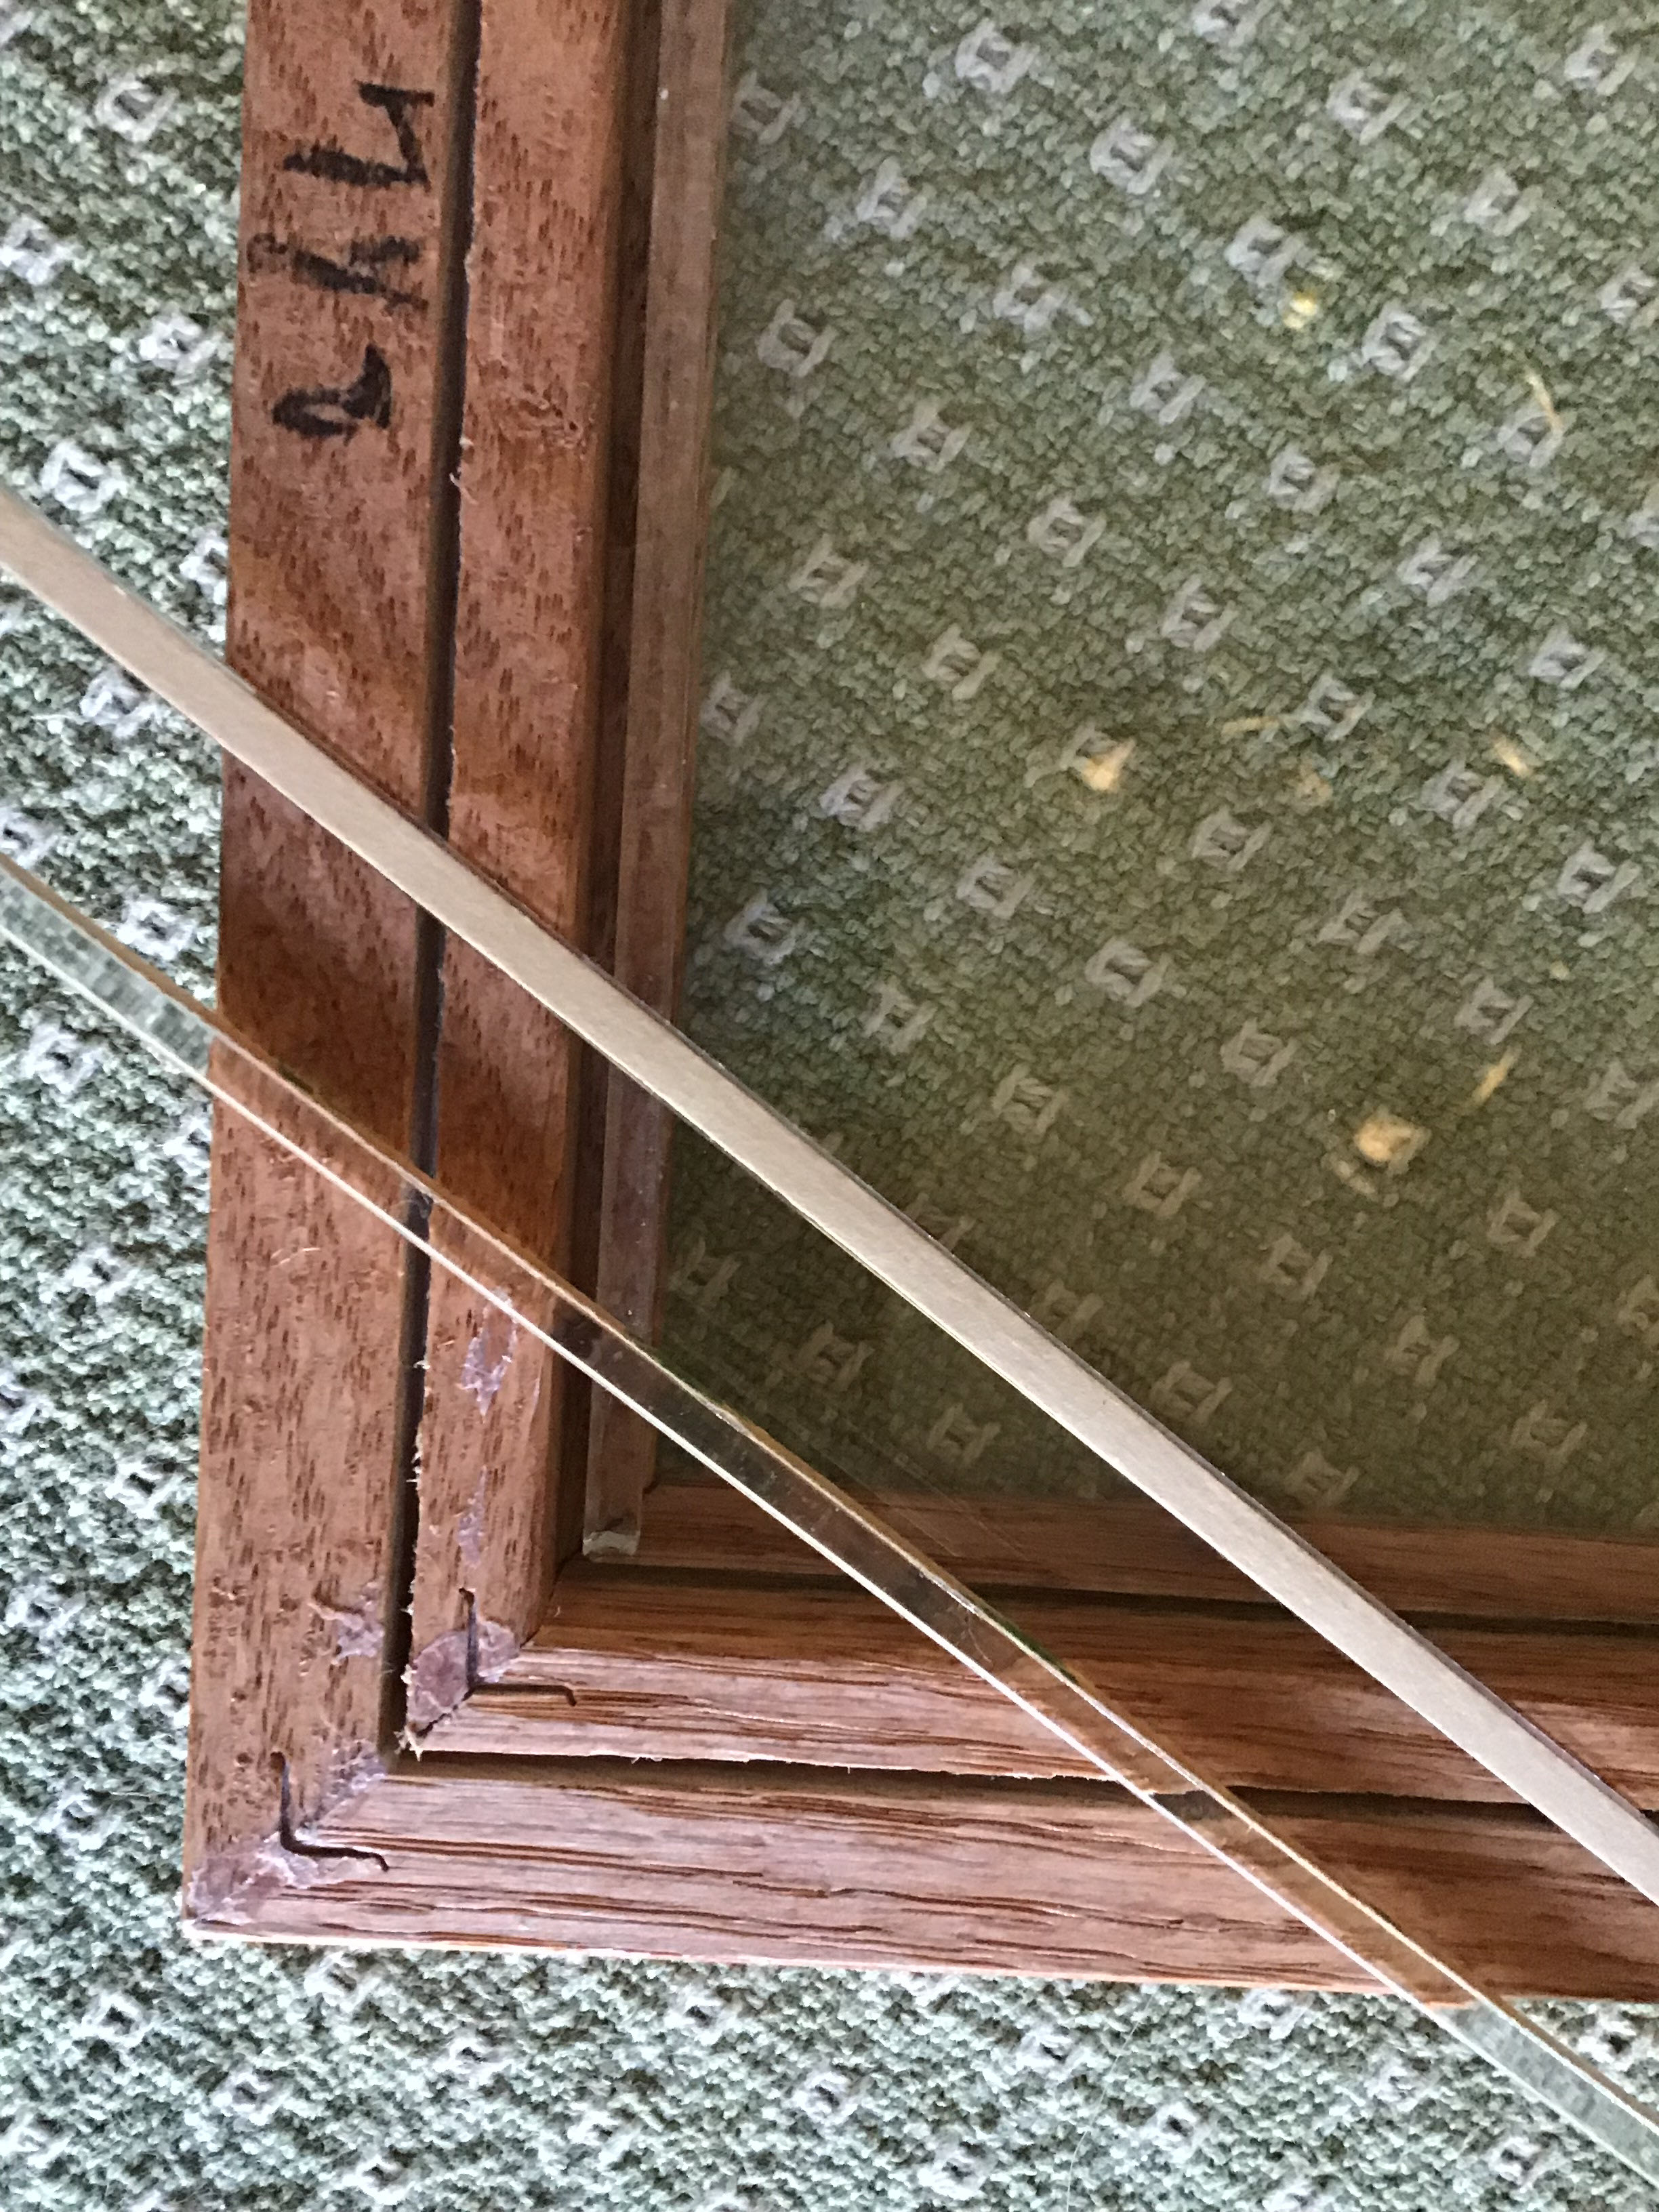
They are applied directly to the glass and keep the fabric from touching the glass.
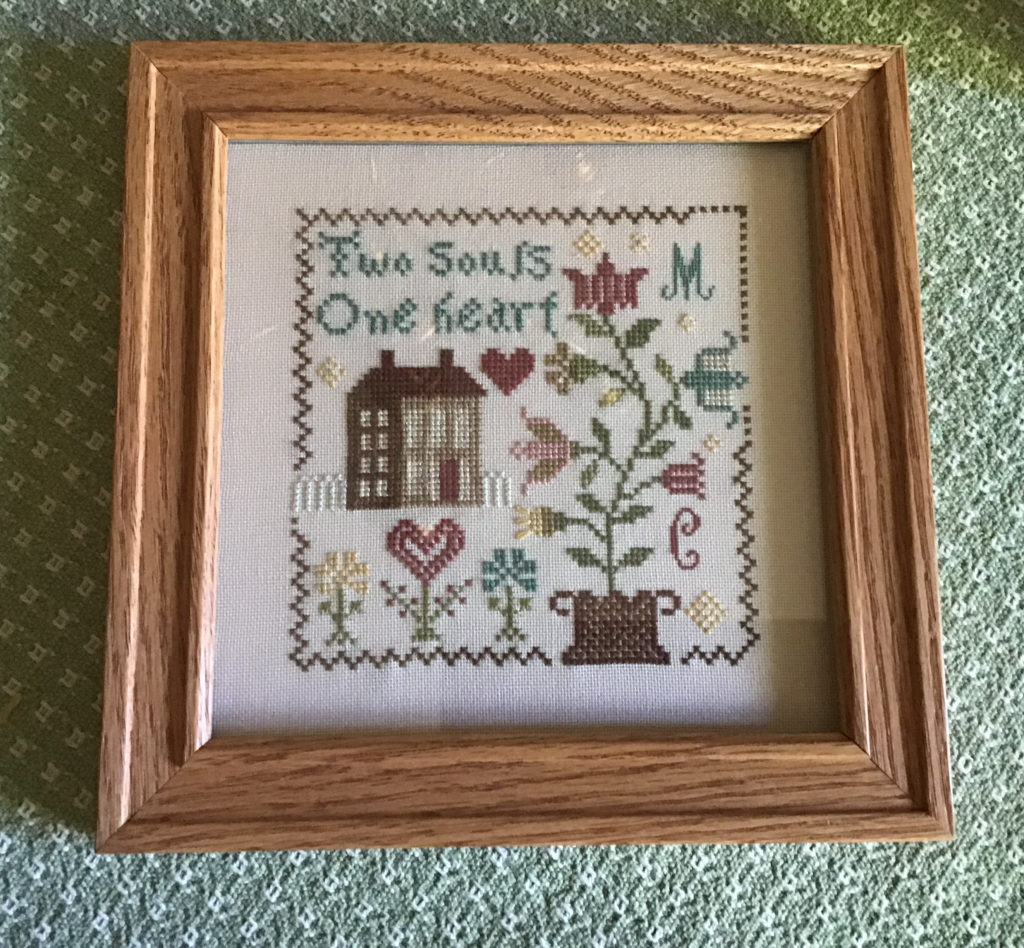
Next is assembling the entire project - glass, spacers, stitched piece and backing. The hardware comes with the frame so easy to put together.
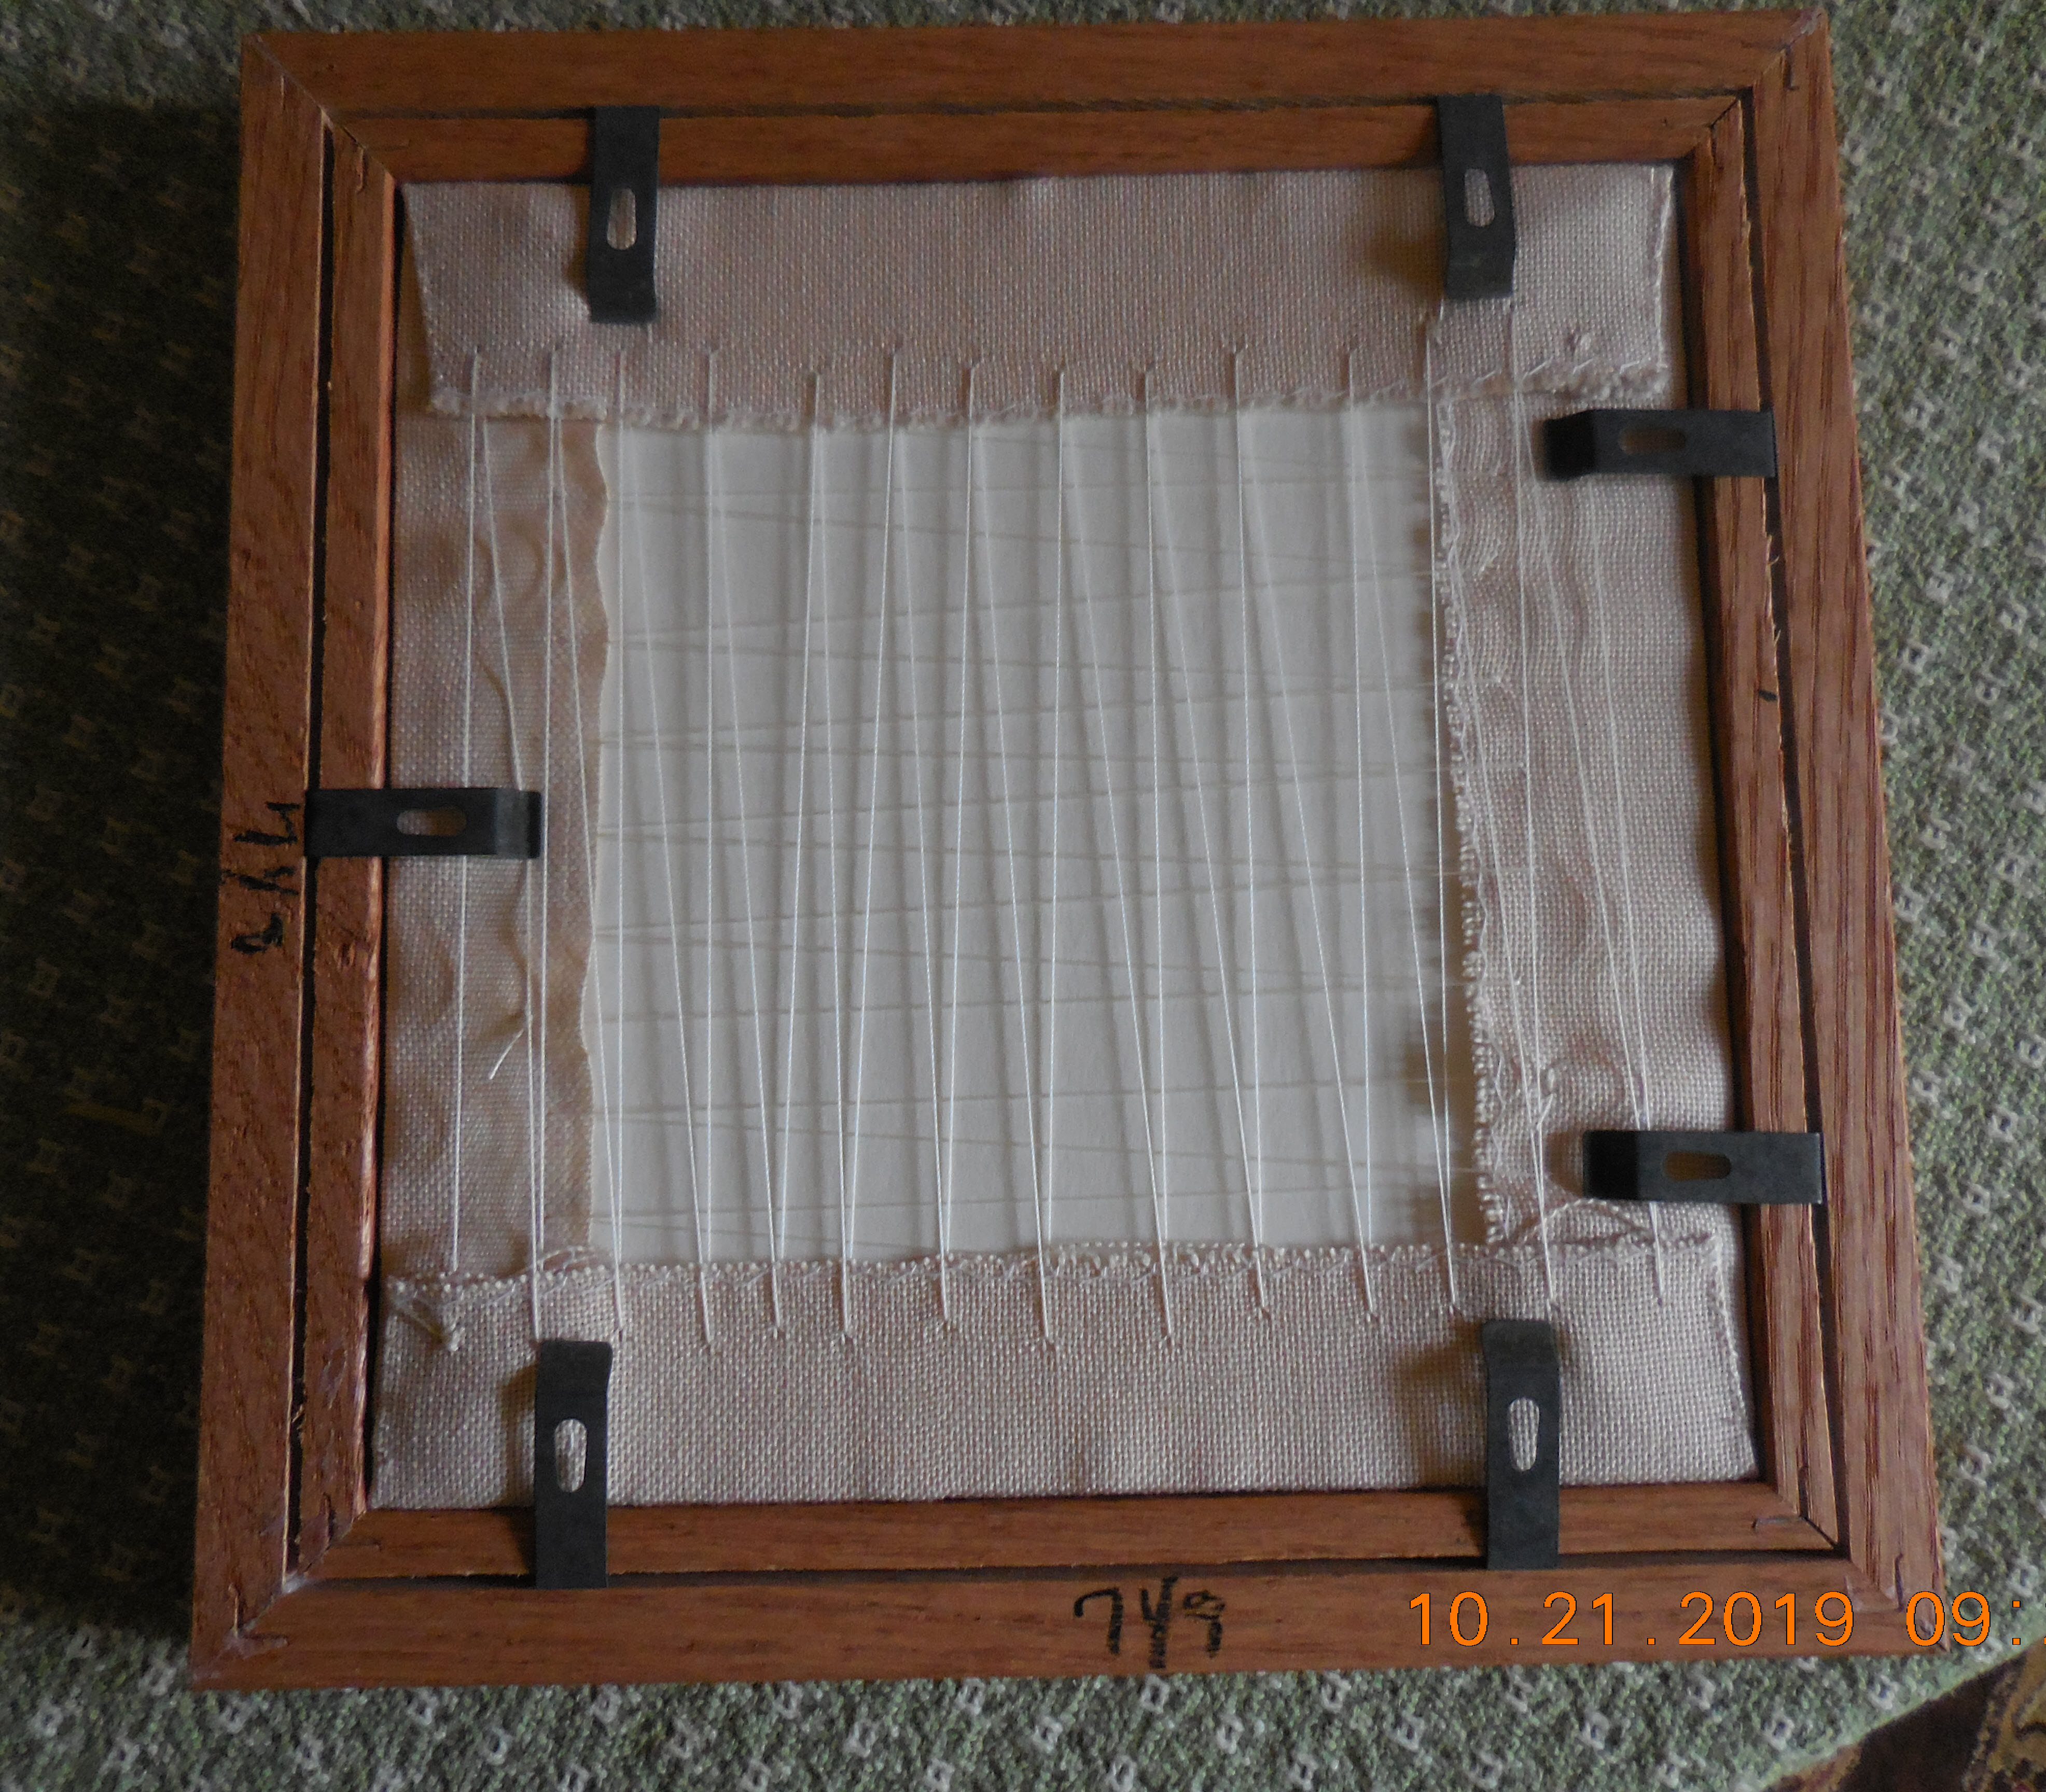
Once the project is assembled, I then add dampened brown kraft paper cut to the proper size.
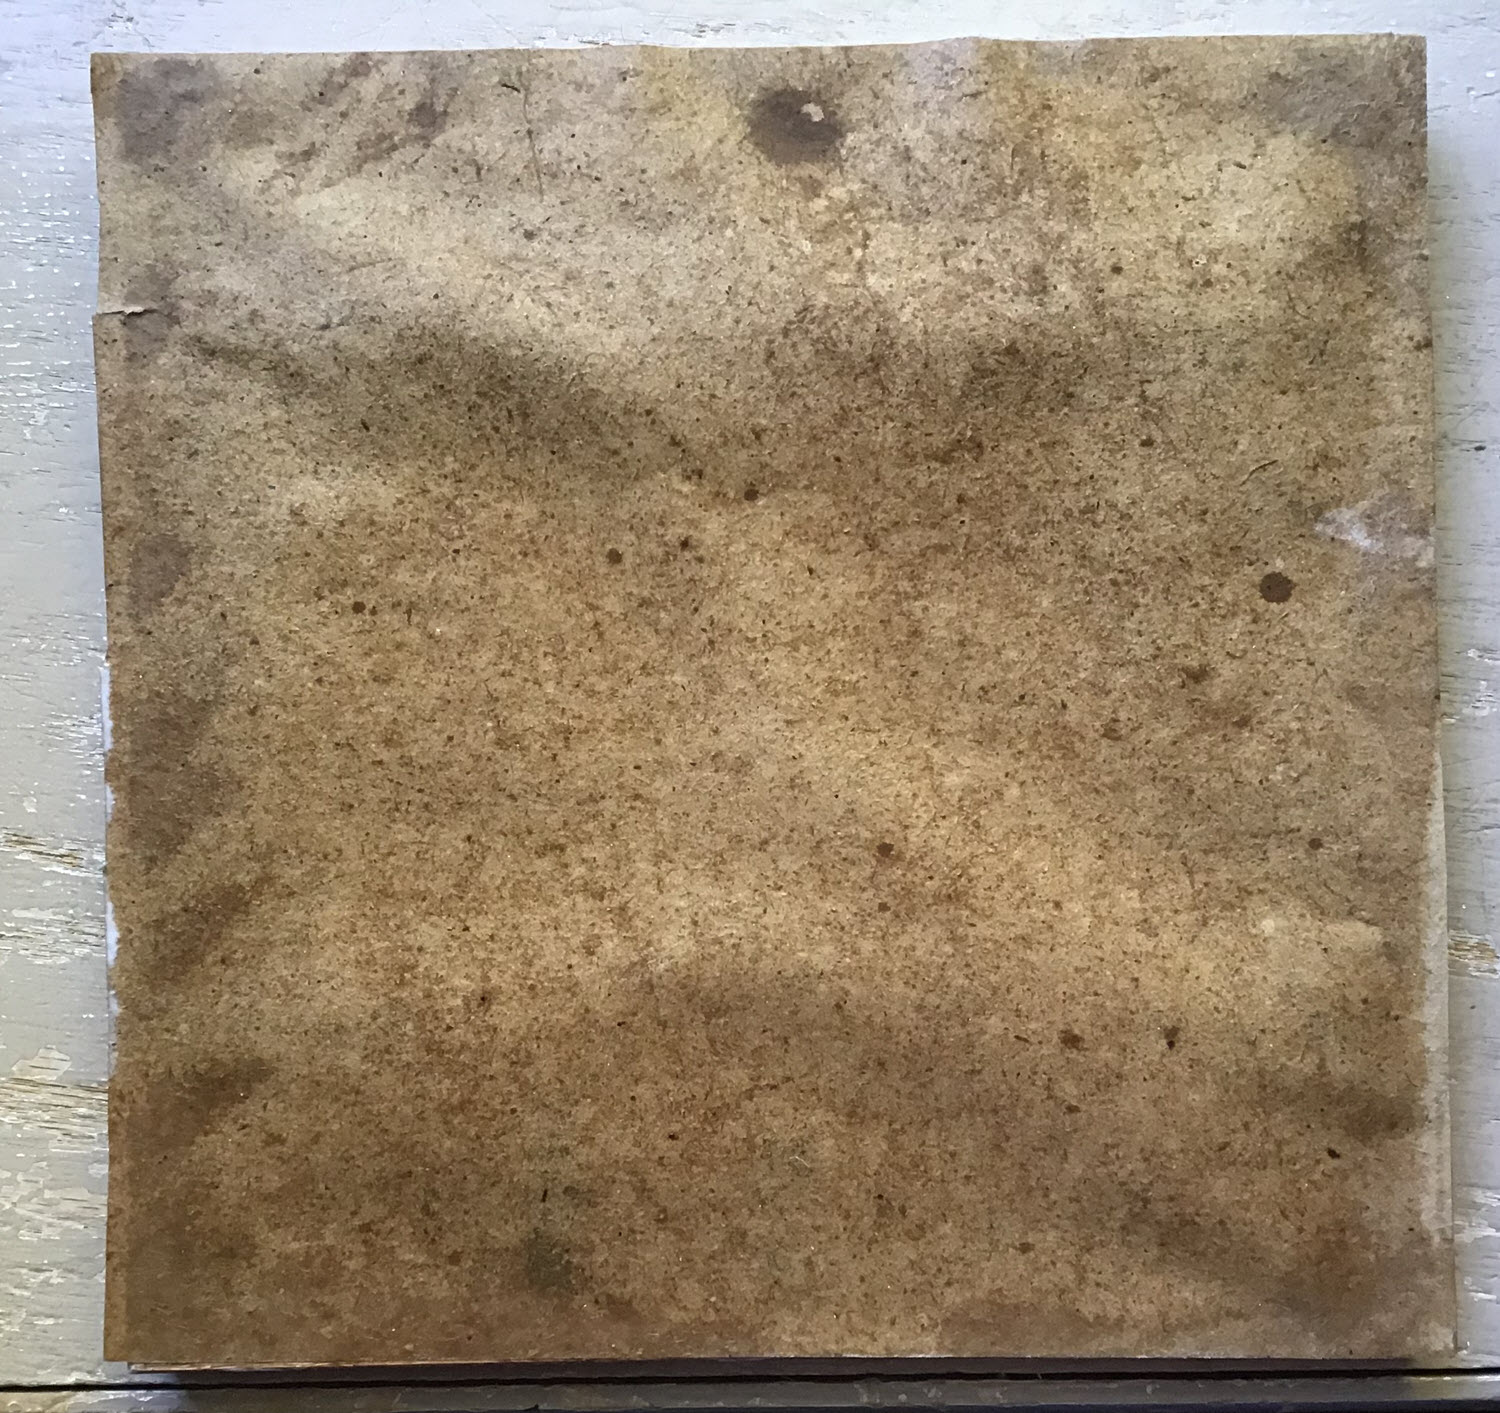
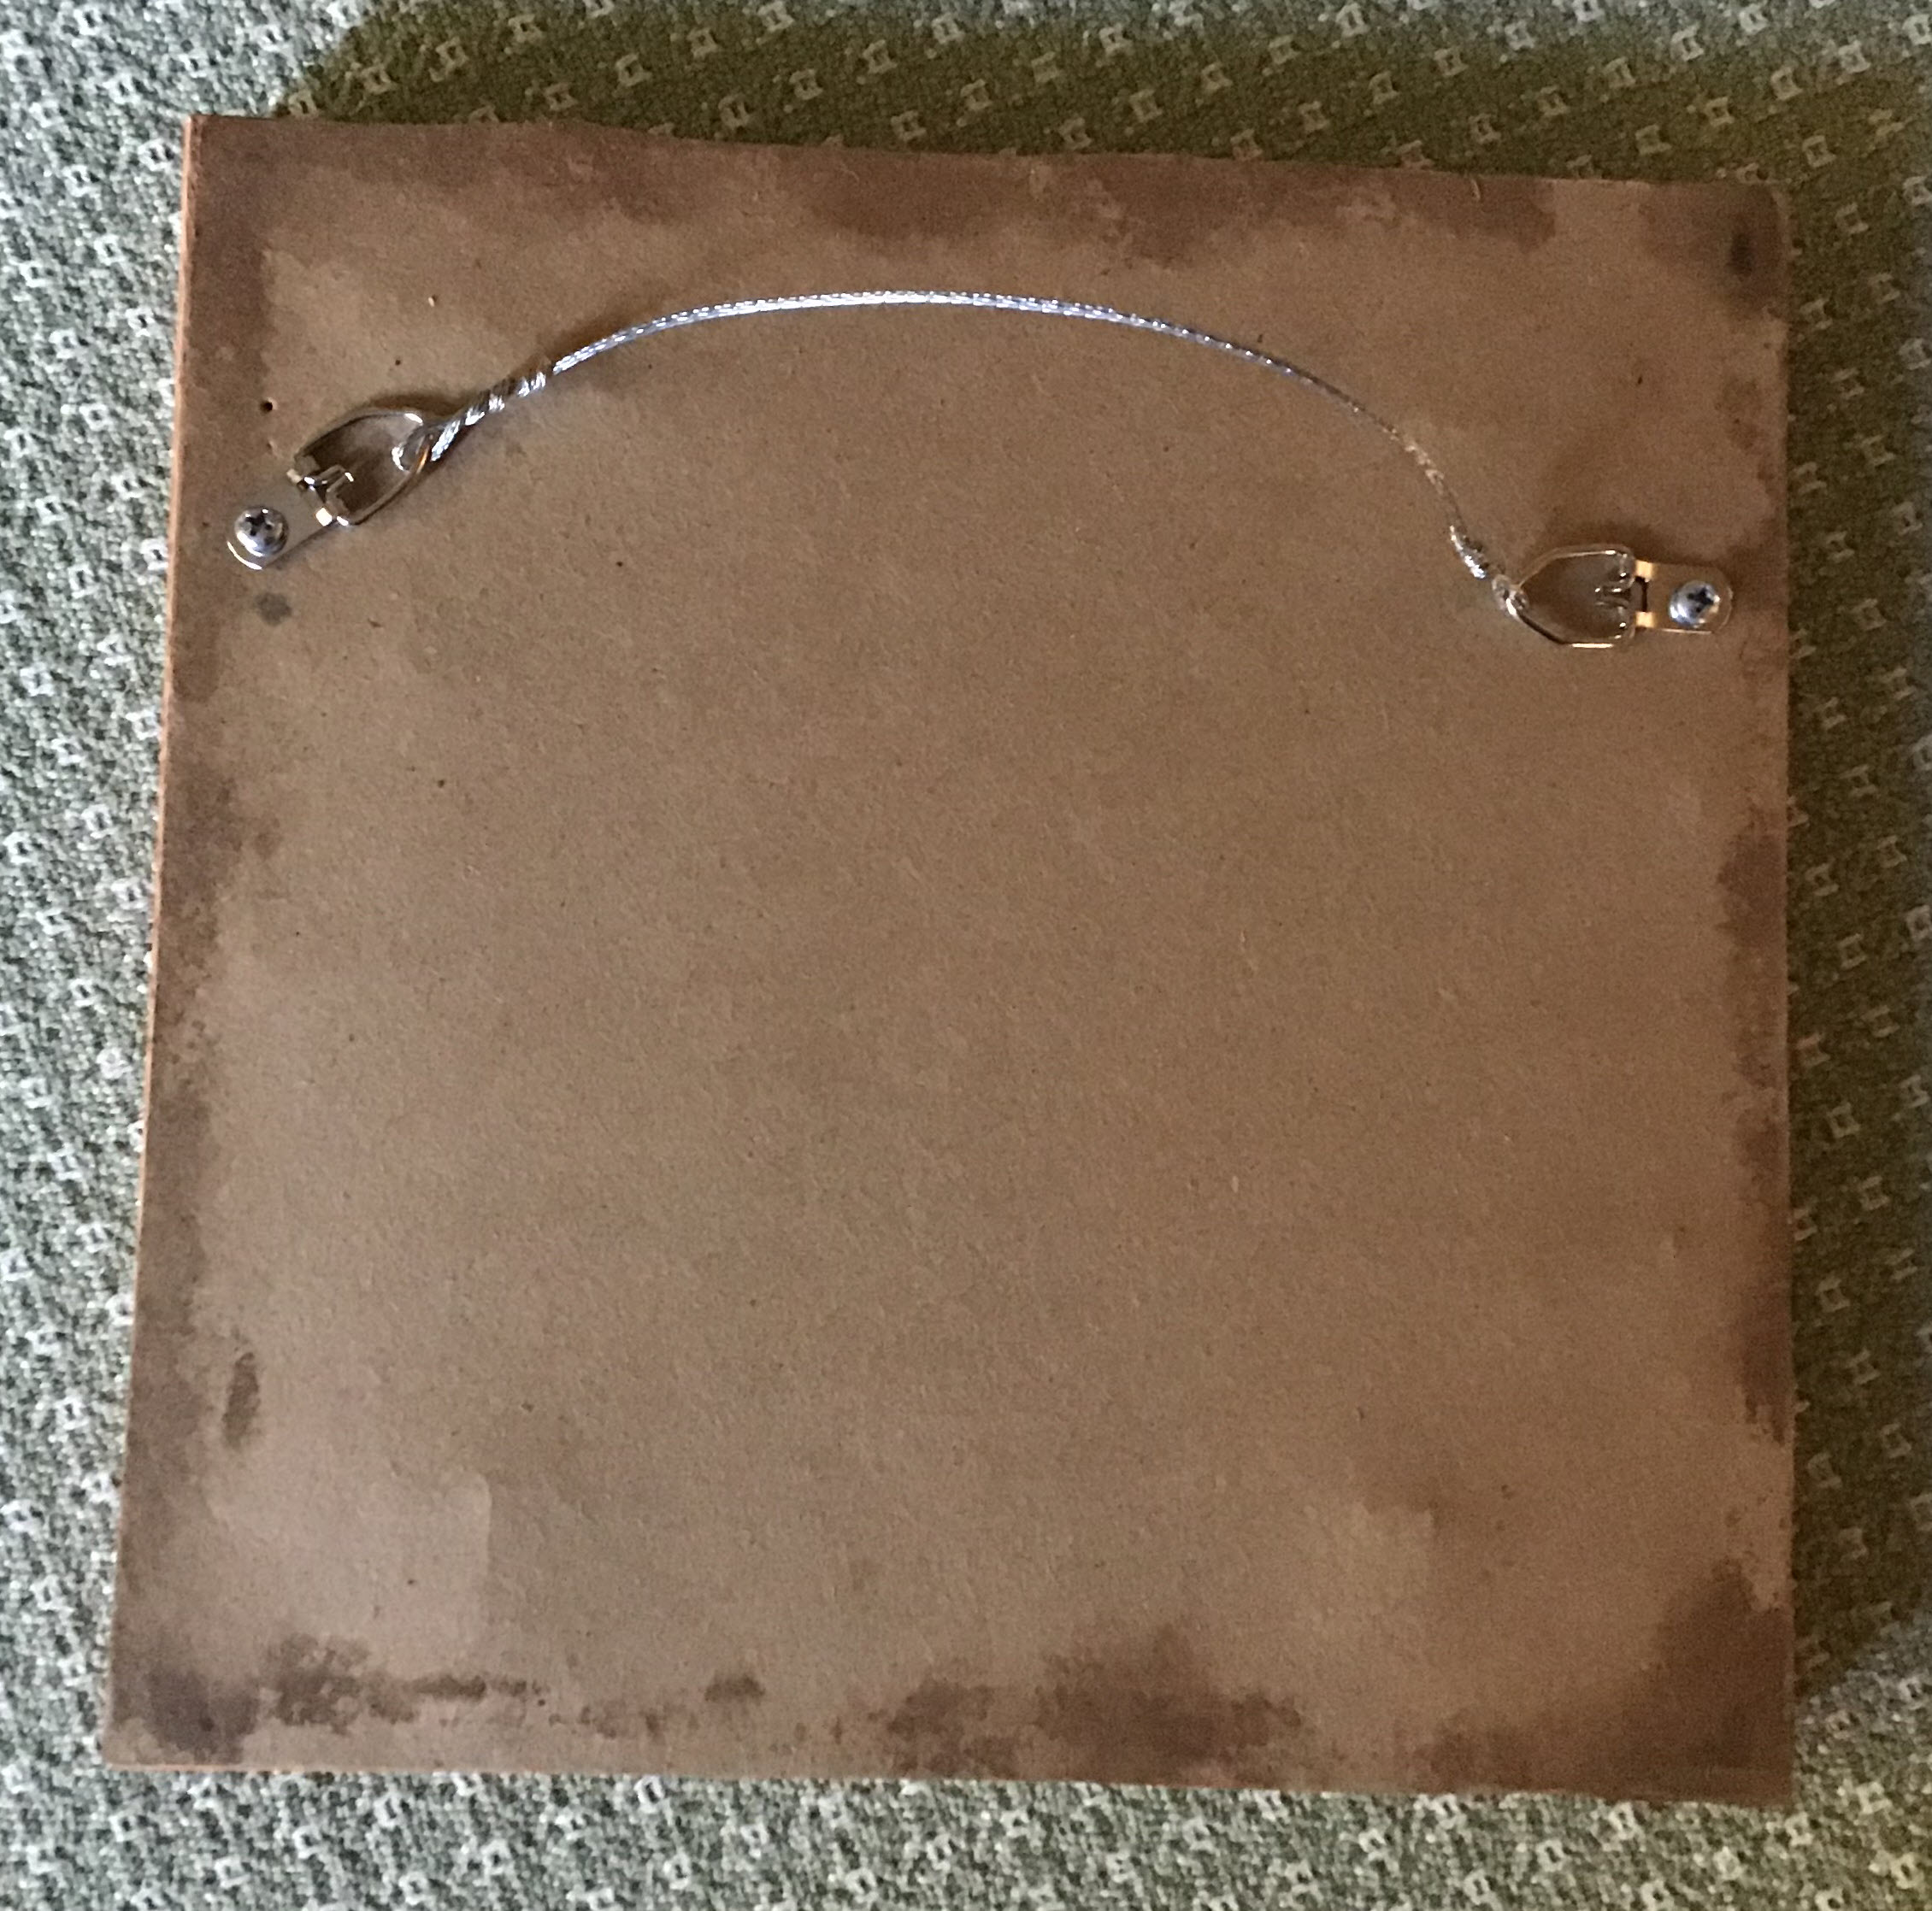
Once it has dried taut, I can then add the hanging hardware.
Resources
- Framing Tutorial with Vonna Pfeiffer The Twisted Stitcher
- Operation DIY: How To Frame a Cross Stitch
- How to Frame Your Cross Stitch by Felt Magnet
- Pictureframes.com I have been ordering my frames from these folks for probably 20 years now.
- ACMS Needlework Shop - original designers of the Hoop Frame which utilizes our ACMS Needlework Rabbet System. NOTE: I have not tried this type of framing as yet but am going to order for some projects I have as gifts.
- The Rusty Roof Etsy Shop - I have ordered a number of these frames to use. While the rabbet depth does NOT allow for glass/mat or spacers and stitched piece they still work well. The two links below will show two projects using those frames.